Molding, Part 3
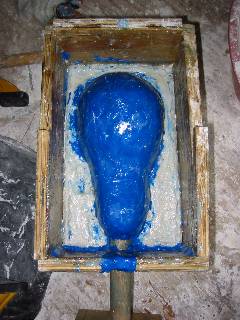
I said I'd do this yesterday, but I got busy with other things. It's time to pour the mold for the back of the head. First I flip the cabinet over and remove the subfloor and the supports that held the head in place and kept it from rolling around. Then I grease the walls of the cabinet, the floor formed by the front of the plaster mold, and the back of the head itself with Vaseline.

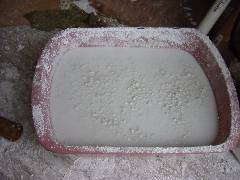
Then I mix some more plaster. This is a better picture than the earlier one. You can see the texture of the mud a little better.

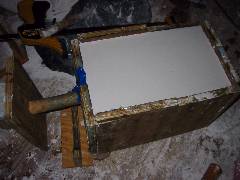
After stirring the plaster I pour it into the cabinet over the back of the head. This time I mixed enough plaster. This is how the front half should have looked.

Incidentally, I could have mixed more plaster and filled the face side to the brim like this one, but this is a waste mold. I'll cast from it only once. No need to use up plaster just for convenience.
Nothing to do now except wait until tomorrow. I think I'll go practice my saxophone.

Then I mix some more plaster. This is a better picture than the earlier one. You can see the texture of the mud a little better.

After stirring the plaster I pour it into the cabinet over the back of the head. This time I mixed enough plaster. This is how the front half should have looked.

Incidentally, I could have mixed more plaster and filled the face side to the brim like this one, but this is a waste mold. I'll cast from it only once. No need to use up plaster just for convenience.
Nothing to do now except wait until tomorrow. I think I'll go practice my saxophone.


0 Comments:
Post a Comment
Subscribe to Post Comments [Atom]
<< Home